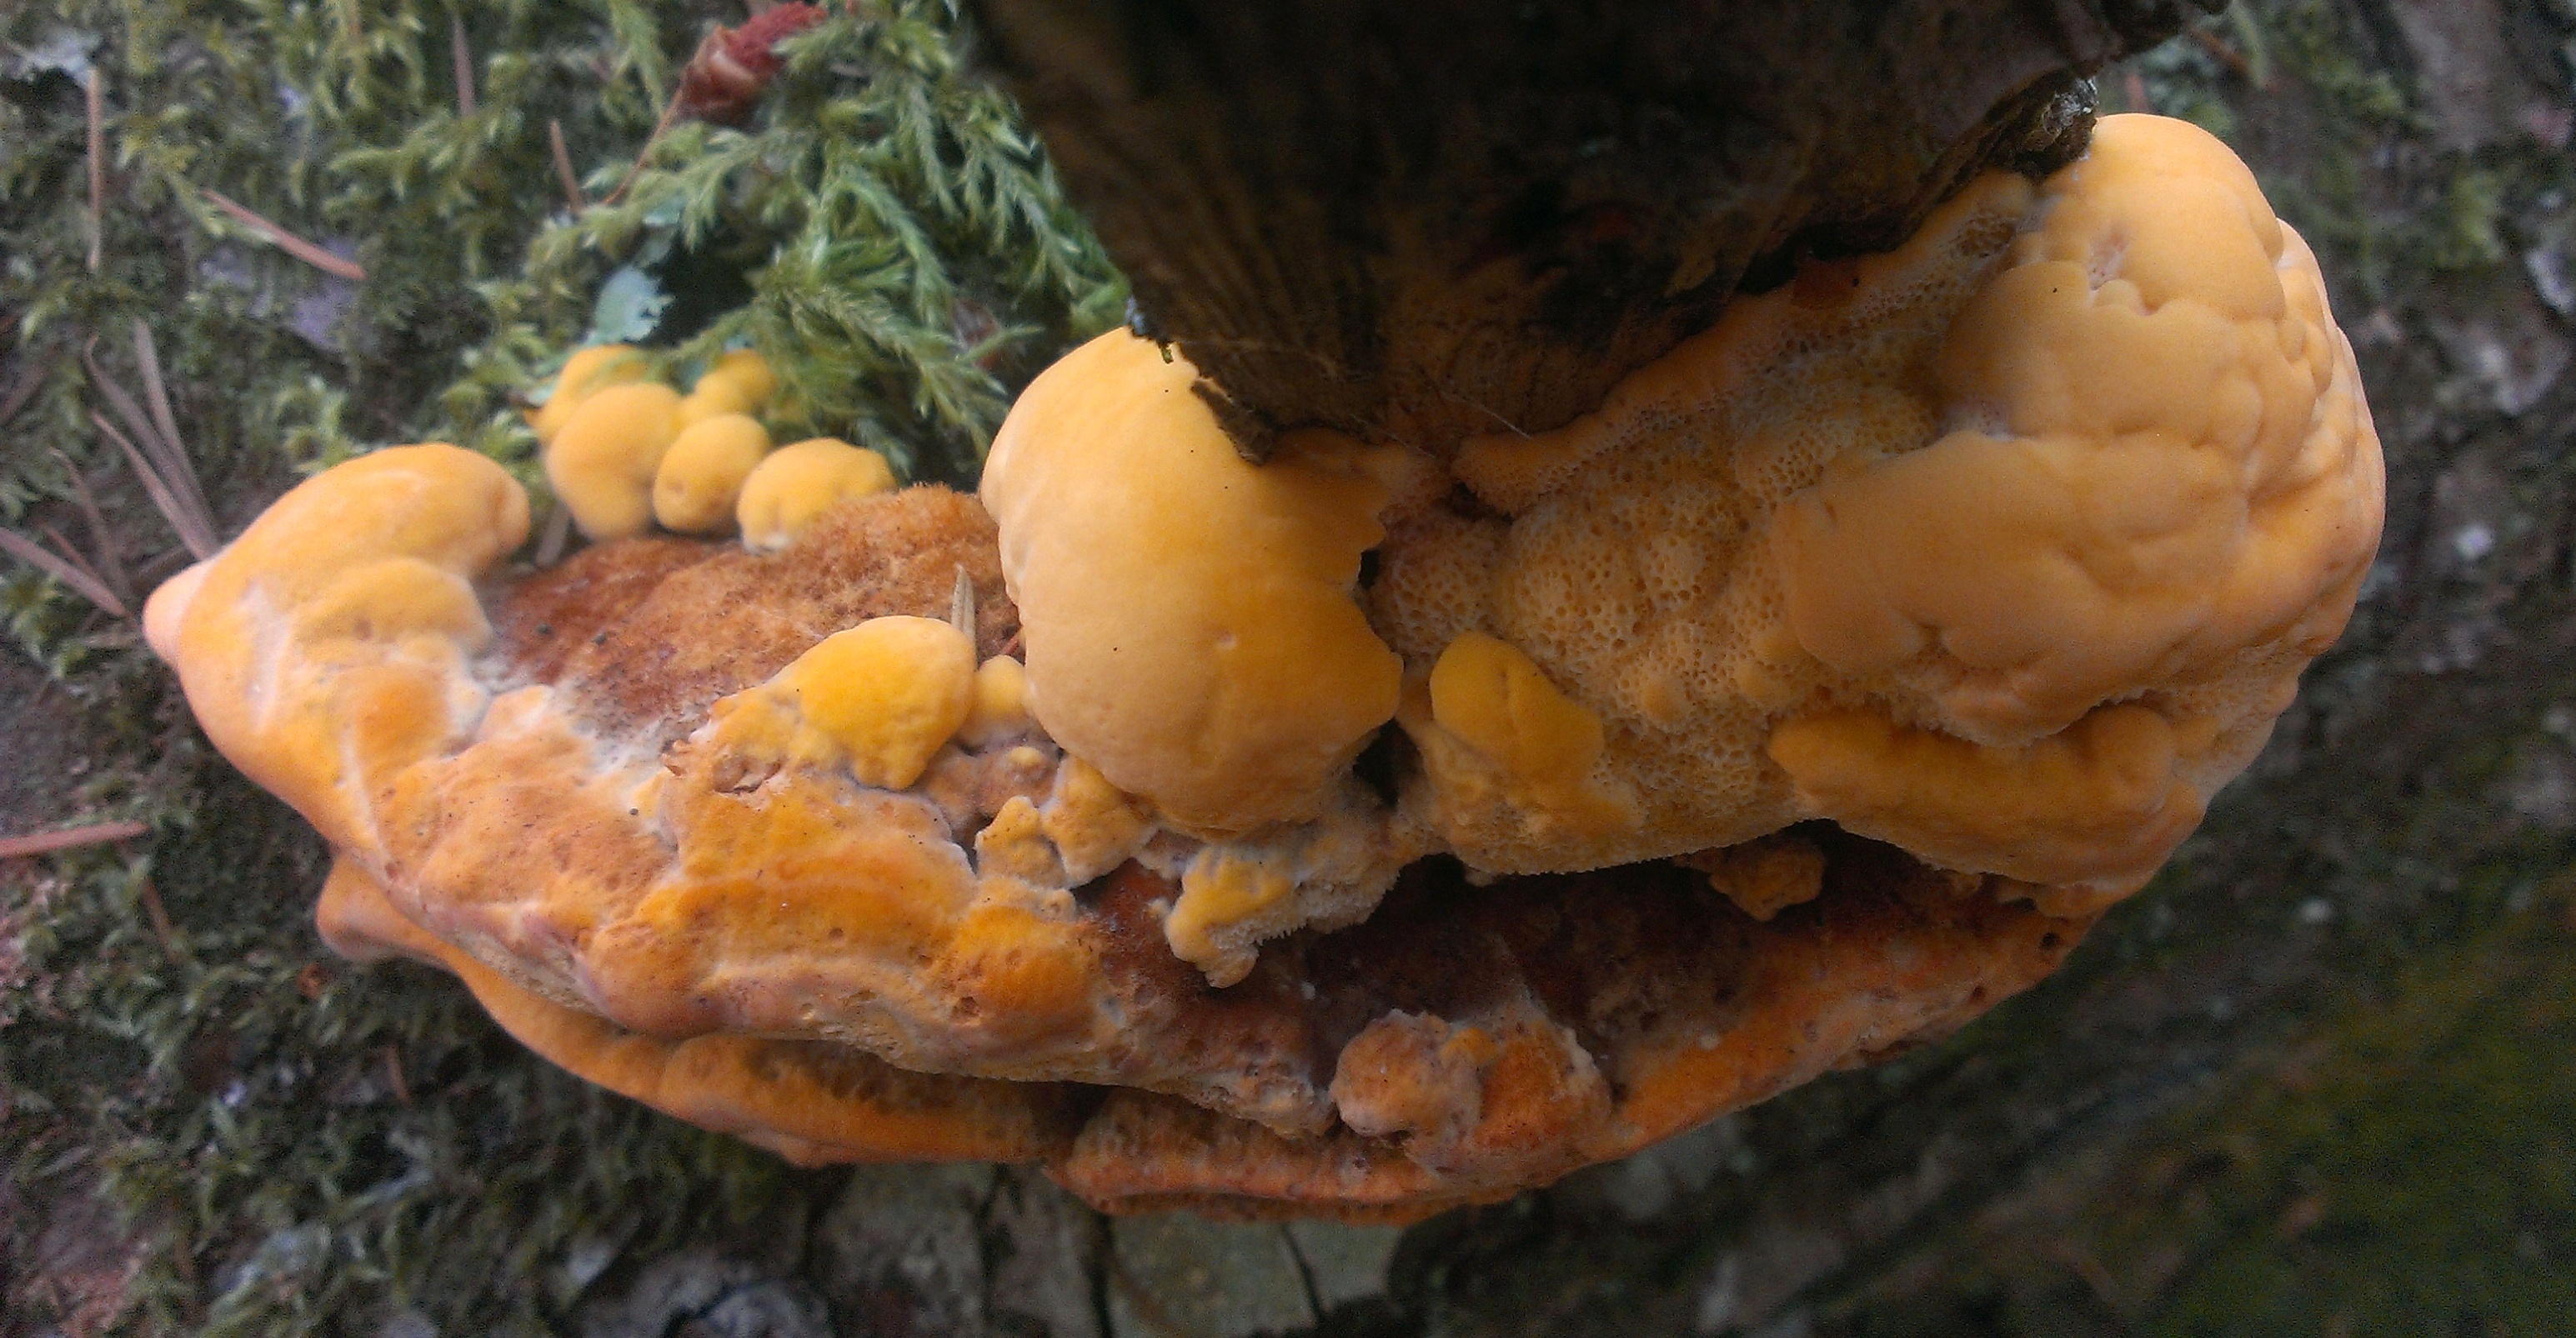
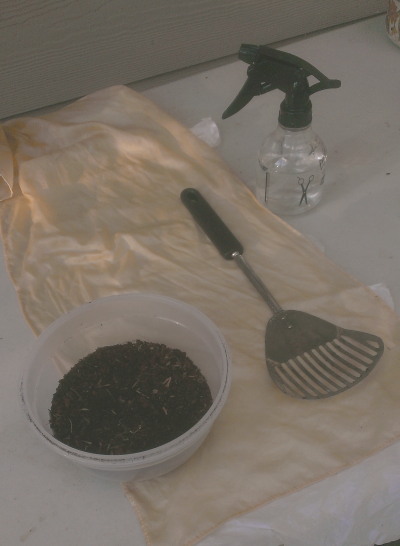
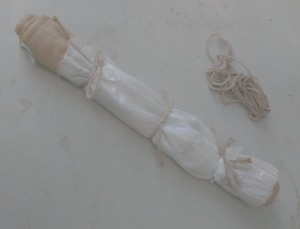
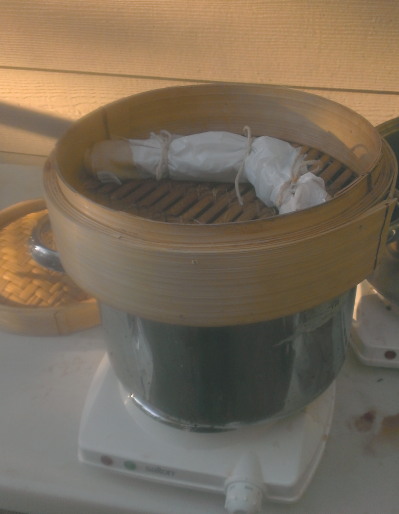
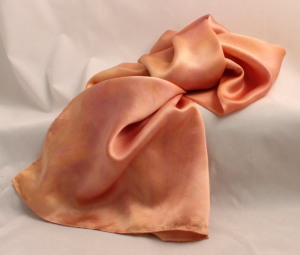
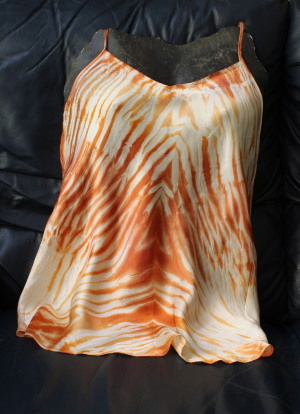
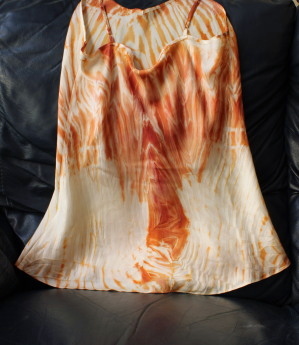
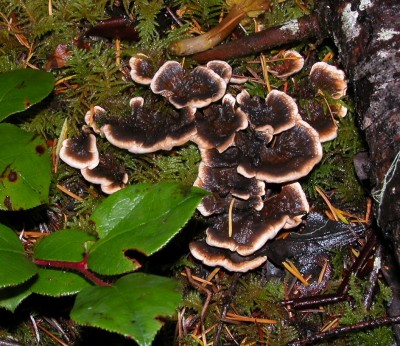
Some friends came over this week to do a couple of dyepots with some dried mushrooms still in my stash. I pulled out a bag of dried toothed fungi that had been sitting in a drawer for a couple of years. When I picked them, I thought they were some sort of Hydnellum, not realizing that in fact I’d collected a good bagful of Phellodon, probably P. atratus, given the amazing blue they gave to the silk scarves in the dypeot. (The mushrooms had soaked overnight in an ammonia solution, which brought the dyepot up to a pH of 10 when we were ready to cook.)
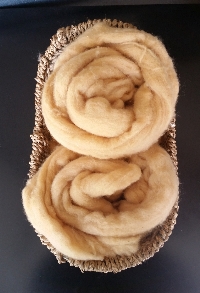
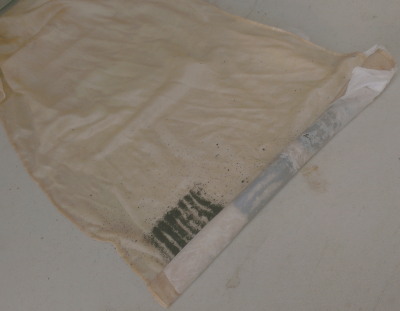
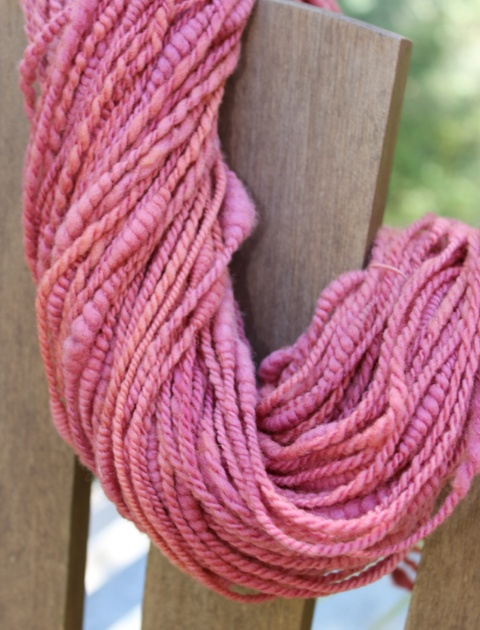
But something interesting happened in the dyepot: Where elastic bands had been used to do some quick shibori, the silk was a coppery brown. At first we thought this might have been a reaction to the rubber in the elastic, but then we noticed this brown showed more faintly where the silk had been tied in loose knots. This warrants more experimenting, for sure. I still have enough of the dried mushrooms for another dyepot, so this is turning out to be an exciting way to start another season of mushroom colours—but first I have to exhaust what’s left in the first pot (these mushrooms seem to be very generous with their pigment; the dye liquor was rich and dark).
This is why I love mushroom dyeing—the learning never stops!